Modding the IBM Model M Keyboard
Phase 2 - All Black
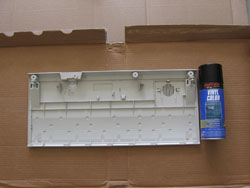
Now that we have our Model M clean, disassembled, and masked we're ready for the black vinyl dye. It's important to point out that there are many vinyl paint products available (Duplicolor vinyl and fabric paint for example) that supposedly have additional bonding agents to help the paint adhear better to the surface. This is not what to use for a project like this, we're looking for something that actually dyes the plastic so that it doesn't chip off with use. Plasti-kote vinyl Color seems to be a vinyl dye used a lot in case modding projects with good results so after some searching, it's what I went with for this project.
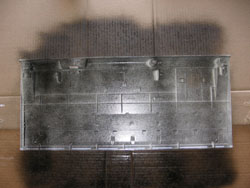
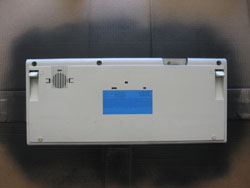
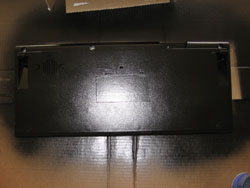
vinyl dye is best applied in many thin coats rather than trying to pour it on thick in just a coat or two. Fortunately it sets pretty quick so a recoat can be applied after 15 or twenty minutes. Still, it took most of an afternoon to dye the whole board. I started with the inside back of the Model M's case, I figured this would be a good place to get a feel for the best application distance and rate. It's also important to make sure the exposed edges along the seams get painted so you don't end up with a white line where the top and bottom halves of the case join together. Here's a shot of what the first coat looked like. Kinda sparse...
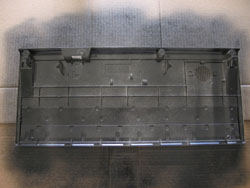
And after the second coat. Still a few thin spots.
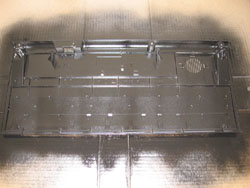
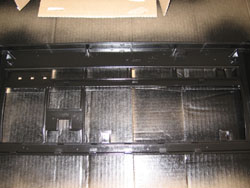
After a few more coats it's almost done. Note that, unlike with paint, all the original texture and plastic modlings are still clean and distinct. The dye doesn't build up and obscure fine details like paint would.
A few more shots of the dying process. It all went pretty smoothly, the only minor issue being the number of coats it took to make sure the groves along the curved key openings got adequately filled. All in all I ended up using just under one whole can of the vinyl dye to paint the keyboard. If I had been dying the keys and ps/2 cable (which I'll probably get to later), I'd think you'd want two cans of paint to be safe. Plan on spending a whole afternoon on the project, although it only actually takes about a minute or two to apply a coat of the dye, the number of coats and drying time add up.
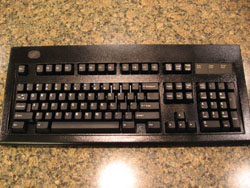
Here are some shots of the finished product with keys from the donor trackpoint installed. I've not yet actually attached the logo or LED cover yet though, I'm still unsure about what sort of adhesive I'll use to glue them down semi-permanently. You can see in the pictures the dye ended up covering pretty evenly (much more so than it went on). My only compaint is that the dye is a little glossier than I'd like. If there was a semi-gloss or eggshell version of this vinyl dye available (I haven't checked) it would probably be perfect. As it is though I'm pretty pleased.
I think I'll wear test the board now for a couple months and see how the dye holds up (I'll report back with results). In the mean-time I'll experiment with a few different adhesives for the logo and LED cover (I'm looking for something that sticks well enough, but that comes off cleanly so I can salvage these items again for another board if I ever need to), and prepare to solder on some new LEDs to finish things off. Stay tuned.
